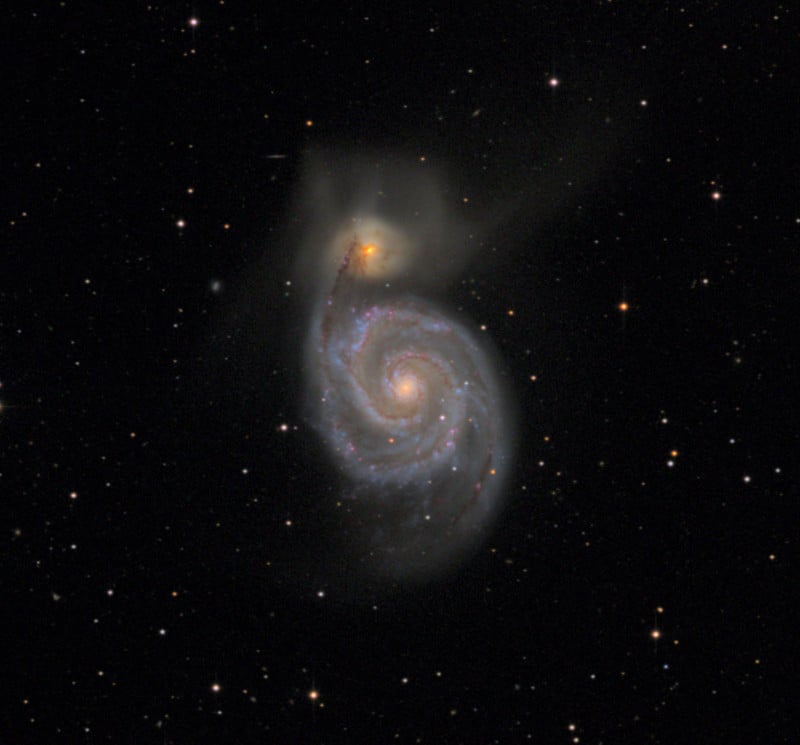
How to Try Deep Space Astrophotography Without Spending a Fortune
![]()
Are you a photographer who would love to give deep space imaging a try – but you’re not quite ready to spend thousands of dollars (or more) to build your own astrophotography rig? With remote astrophotography, you can create astonishing images without the high startup costs. You can learn how to capture and process images using high-end telescopes located all over the world.
Even if you have your own gear, remote technology can supplement what you already have. For example, you could improve your processing skills, capture images without light pollution, try out a variety of equipment options, or capture images from a different location or even hemisphere.
TelescopeGuide recently published a guide to getting started with remote astrophotography. It includes a summary of the best online service providers and a step-by-step walkthrough of how to use Insight Observatory’s remote telescope service. Be sure to check it out, or keep reading below for an introduction (adapted from TelescopeGuide’s original).
Why Consider Remote Astrophotography?
There is something uniquely satisfying about using your own equipment and software (plus some patience and skill) to capture a stunning image of a galaxy or nebula in deep space. However, as amazing as it feels to do astrophotography on your own, it’s also a hobby that can get, well, expensive.

First, the best celestial images require a high-end apochromatic refractor telescope or a fine-tuned astrograph reflector with precision-built optics. Second, in addition to the telescope for astrophotography itself, you’ll need a smooth computerized mount capable of being auto-guided with the help of a secondary guide scope. Third, you’ll need a suitable camera and several other accessories — for example, a dew control system, filters, reducers, field flatteners, correctors, et cetera.
Finally, you’ll need a place to set up your equipment. While you can certainly do deep space imaging in your backyard, it takes time and effort each time you want to set everything up and you may need to contend with light pollution or sky conditions, which can make things more challenging.
Also, one last thing: Even if you have excellent gear and a great place for imaging, your particular combination of equipment, location, and hemisphere will always limit what you can capture.
So, regardless of your situation, adding a remote option to your toolkit can help expand the imaging choices available to you.
So, How Does It Work?
With remote astrophotography, you collect your image data using a telescope set up in a remote location.

An observatory, usually located in a dark-sky location (whether an official IDA site or just a remote location with a very dark sky), houses the rig. The observatory allows electronic control of its roof, so you can remove it anytime for operation without anyone physically onsite at the observatory.
Here is how it works:
- First, you submit an image request to the service provider, specifying your target and any other details required for capturing the image data.
- Next, the computer-controlled equipment collects the requested exposures and sends you a file containing the raw (unprocessed) image data.
- Finally, you use image processing software to “stack” and process your images to produce the final result.
A Great Way for Beginners to Experiment with Astrophotography
For beginners, remote astrophotography offers a great way to get started and learn some of the basics of imaging objects in deep space. You can focus your energy and initial learning on understanding the overall process, figuring out the optimal exposure settings, and converting the raw data into beautiful final images.
Sometimes people who are learning astrophotography spend a lot of time and money on equipment and capturing raw images, but they don’t spend as much time learning and perfecting the back-end of the process where the image “comes to life.”
With remote astrophotography, you can learn the entire process before investing in equipment, or you can do a mixture — use your own equipment while also experimenting with remote imaging so you can compare and optimize results.
But It’s Not Just for Beginners!
If you’re a more experienced astrophotographer, you can still take advantage of the benefits of remote astrophotography:
- Practice and refine your processing skills with a wider variety of targets, conditions, and equipment.
- Use higher-end equipment when you want to create an especially spectacular image.
- Capture images from a different location or hemisphere.
- If you’re crunched for time, take images without setting up the equipment.
- If you have poor local sky or weather conditions, you can take images any time by choosing a location with better conditions since you are no longer limited to imaging only when local conditions are good.
How Do You Get Started?
To learn more, check out TelescopeGuide’s guide to getting started with remote astrophotography, which includes the following:
- What are the best options for remote astrophotography? A summary of the top providers including Insight Observatory, iTelescope, Telescope Live, and more.
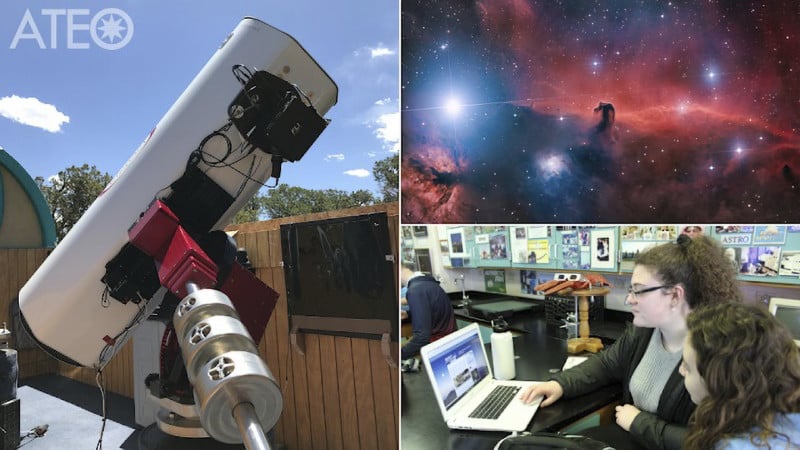
- Step-by-step guide: A walk-through using Insight Observatory’s ATEO-1 online 16″ f/3.7 astrograph reflector for astrophotography.
Whether you’re a beginner looking to learn the end-to-end process of capturing celestial images, or an experienced pro looking to hone your skills, remote astrophotography offers a great way to take your photography to the next level and expand your imaging possibilities.
About the author: Brian Taylor is a technology professional by day, amateur astronomer by night, and writes at TelescopeGuide. He loves exploring the wonder and beauty of the universe—and (especially) sharing it with others. The above article was adapted from its original, published at TelescopeGuide.